Showing posts with label dress form. Show all posts

Sunday, January 29, 2012

Dress Form - OH How Awesome It Is!

I wanted to show a quick example of how awesome it is to have a copy of yourself in a dress from. I drafted a pattern, but somehow it came out way bigger than I calculated. When I put it on, it was all over the place, and since it's extremely difficult to do a fitting on yourself, my fitting partner came up clutch. I threw it on, pinned it [since it is a tiny bit larger than your actual size [inevitable, as when cast, you still breathe and the cast will expand], when pinned snugly, it actually gives ease on the body], marked it up and the pattern was ready to go.

Sunday, July 17, 2011

Making of the Dress Form Part 4 of 4 - Cover

Supplies...
  • 2 yards [roughly, depending on the size of the form] of jersey knit fabric [skin color is best]
  • Stapler
  • Needle and thread
There are many ways you can make a cover for the form. Some people drape over and create a multi-piece princess seamed cover. I feel this method is more time consuming and may not be as accurate, since [as I did] you may have shifted during the casting process and and your right side and left side might not be exactly the same. If this happened you will have to drape left and right separately. So I feel like stretchy jersey knit fabric is best for the job.

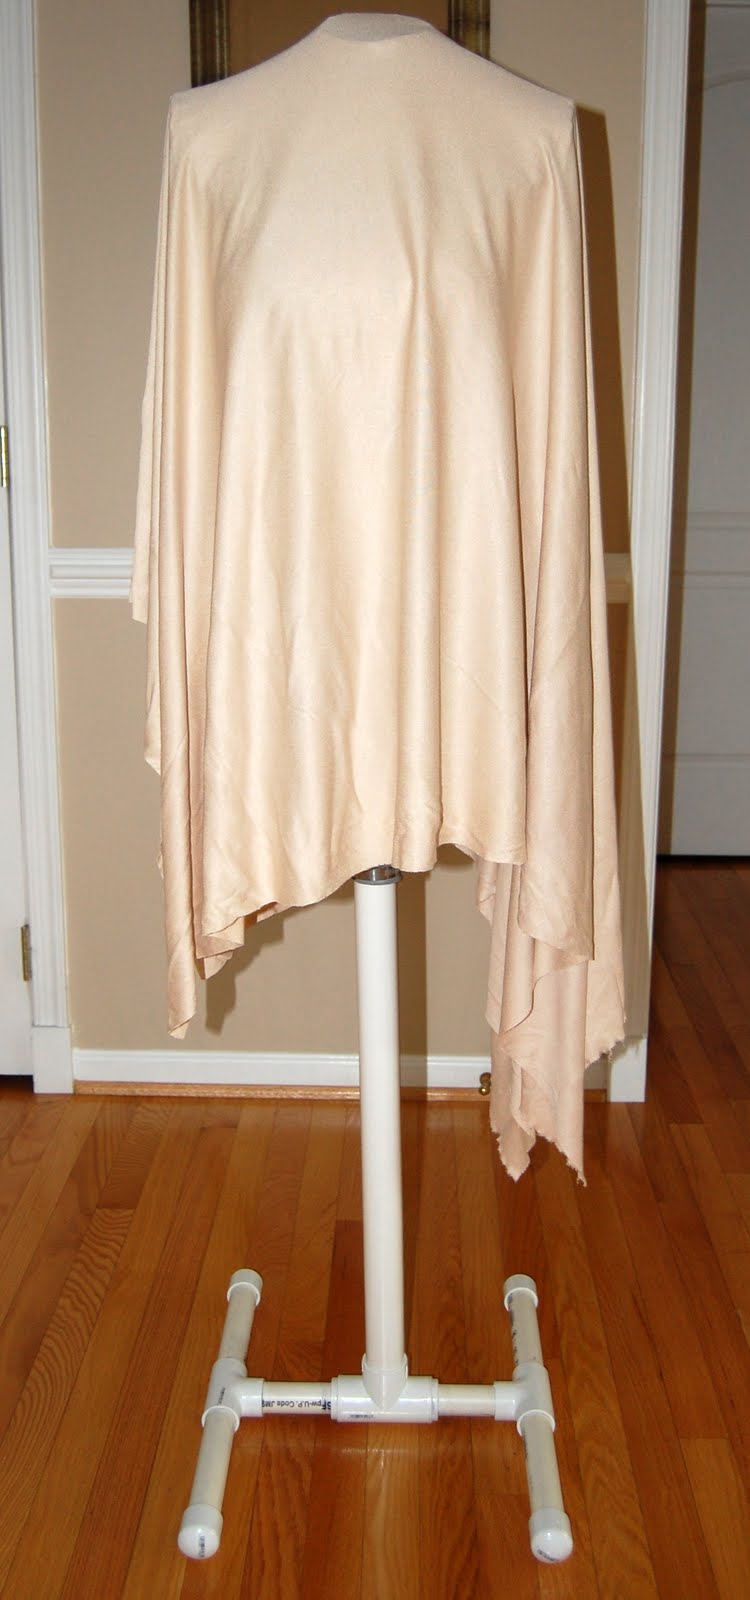
Draw side seam lines on the raw form. Drape the fabric over your form like you are covering it. Pin it just enough so it stays put while you turn the form over. Pull the fabric tightly and staple it to the base of the form. Turn the form back over and start with the front. Staple the sides to the form, right before the side seam line [the staples are just to keep things tight, they will be taken out when it's all done]. Make sure you have everything nice and tight, including neck and bust, on both sides [make sure the fabric is not loose over them, you want this to be a second skin]. Cut the fabric as close as possible to the side seam lines. Repeat for the back. Use thread and needle to sew the two sides together [contrasting color is easier to see]. Take the staples out [be careful not the rip your fabric].


Next work on the shoulder seams, making everything nice and tight just like the side seams. Sew together the arm holes. And finally make the base of the form tighter. That may mean you have to sew the excess fabric together.

To make things pretty and useful, I covered the arm holes with contrasting fabric and made a pin cushion for the neck [very helpful when draping].


Next are the center and princess seam lines. Mark the center of the bust with a pin. Measure the front of the form [from side seam to seam to seam], divide and mark with chalk. Straight stitch along the marked line. Do both front and back. Then divide the front half in half again and mark the princess seam. Repeat for the back. Mark at your natural waist and straight stitch over it. Do the same for the hip line.


And it's DONE!

Comments...since I've had the form, draping and pattern making has become such a breeze [speed and convenience]. There are really so few corrections that need to be made to fit me perfectly. The time and effort spent making all this was well worth it.


Wednesday, May 18, 2011

Making of a Dress Form Part 1 of 4 - Cast Yourself

I've always wanted a custom made dress form, but one can run upwards of $800, and the cheapies sold at a local craft store are just unusable. Also, custom made is really not an exact replica of you, just measurements and generalizations of your body. But what could be better then draping over a form that's an exact copy of you!

Supplies...


  • Bulk Plaster Gauze 4in x 135 feet [at least]
  • Plastic Tub
  • Small amount of water
  • Sharp Scissors [other sites will say you need bandage scissors, really good ones are pricey, and cheap ones at a local drug store will fall apart, halfway through]
  • Plastic drop cloth
  • Plastic wrap [from local supermarket]
  • Plastering assistant [human you are comfortable with]
  • Portable heater
  • Rubber bands
  • Permanent marker

Let the mummification begin...

Cut plaster roll into strips. It took about 80 - 4 x 14 and 20 - 4 x 8 inch strips to wrap me in 3 layers of plaster. I am size 2, so calculate according to your size. [Have it ready, you don't want your plastering assistant to stop and have to cut more.]

Wear a tight tee shirt. The kind that fits you in every spot, and one you don't mind parting with--it won't be so pretty after you are done with it. Also wear short tights, or regular underwear.

Stand straight. [My natural posture is to stand like a gymnast, that will not work for a good dress form. Straight as in your back straight against the wall. You didn't just do a dismount ;)].
Wrap plastic wrap from the hips [below the bum or however low you want it to go] to right under the chest. Do not wrap your chest. Why? It will flatten it and look unnatural [or like a 13 year old boy...hehehe].

Wet one strip at a time and start wrapping from the bottom up. You will need to do 3 layers. Horizontal, vertical and another horizontal. Start every new layer from the bottom. [Do not wiggle. As a matter of fact don't breathe].

The plaster will start to become colder as it dries. You will start to feel confined and very uncomfortable. Your natural reaction will be to do only 2 layers so this goes faster, but that won't be enough [the cast will fall apart in places when you try to cut it off].

The cast should feel dry to the touch. The portable heater will help speed drying and will keep you warm at the same time.

When all that's done, mark at the sides of the cast [some say to cut at the chest and back, I don't think those are good places]. Try to find the center of the mass and cut the cast in half at the sides. [While the cast dries, it attaches itself to your shirt. So your shirt will get holes when the form is cut away].

Once the cast if off you, gently put it back together, wrap it with plastic wrap around the waist, use a rubber band around the neck and arms, stand it [do not lay] and let it dry for 24 hours.

time....We had to do two casts. The first one didn't come out as planned. Posture and chest came out deformed. It really looked nothing like me. It also took about 3.5 hours from start to finish. And my back was killing me since I stood like a gymnast the entire time. For the second cast, we knew what went wrong and corrected all the issues. It also took "only" 1 hr 20 min to wrap and another hour for drying.

tips...Several smaller cut strips work better around the armhole and neck. Try to cast on a non-damp day, as the plaster will dry faster.

options....with or without arms. Without is true to a real form. An arm can be made separately.


Tuesday, May 17, 2011

Finally or Making of the Red Dress Part 3.


The fabric is finally ready. Design has been sketched, dress has been draped in muslin and pattern has been finalized. Of course one hopes to have to make only one muslin version, and somehow it all magically works. This was not the case...I had to do the dress twice in muslin to make sure it hits at all the right spots, has the most flattering shape and feels great on. My model? Busty :) One must show off the assets, but not fall out at the same time. And this is where the inside of the dress comes in  with its corseted foundation reinforced by seven boning strips of varying sizes. Seven, I feel, is the perfect number. Less is loose, more makes it look like you're wearing armor. Internal gross grain belt, so the dress perfectly sits on the waist. Additionally, it’s fully lined. And the shell? The most awesome red cotton organdy! And  don't  forget 1200 hand sewn seed beads that  took only twenty hours to attach [some blindness was incurred in the process...hmmm]. Oh and the bow, let's not forget the bow -- detachable, so you make a dramatic entry, then leave it at coat check so dancing can go on.


Related Posts Plugin for WordPress, Blogger...