Showing posts with label fashion. Show all posts

Sunday, July 17, 2011

Making of the Dress Form Part 4 of 4 - Cover

Supplies...
  • 2 yards [roughly, depending on the size of the form] of jersey knit fabric [skin color is best]
  • Stapler
  • Needle and thread
There are many ways you can make a cover for the form. Some people drape over and create a multi-piece princess seamed cover. I feel this method is more time consuming and may not be as accurate, since [as I did] you may have shifted during the casting process and and your right side and left side might not be exactly the same. If this happened you will have to drape left and right separately. So I feel like stretchy jersey knit fabric is best for the job.

Draw side seam lines on the raw form. Drape the fabric over your form like you are covering it. Pin it just enough so it stays put while you turn the form over. Pull the fabric tightly and staple it to the base of the form. Turn the form back over and start with the front. Staple the sides to the form, right before the side seam line [the staples are just to keep things tight, they will be taken out when it's all done]. Make sure you have everything nice and tight, including neck and bust, on both sides [make sure the fabric is not loose over them, you want this to be a second skin]. Cut the fabric as close as possible to the side seam lines. Repeat for the back. Use thread and needle to sew the two sides together [contrasting color is easier to see]. Take the staples out [be careful not the rip your fabric].


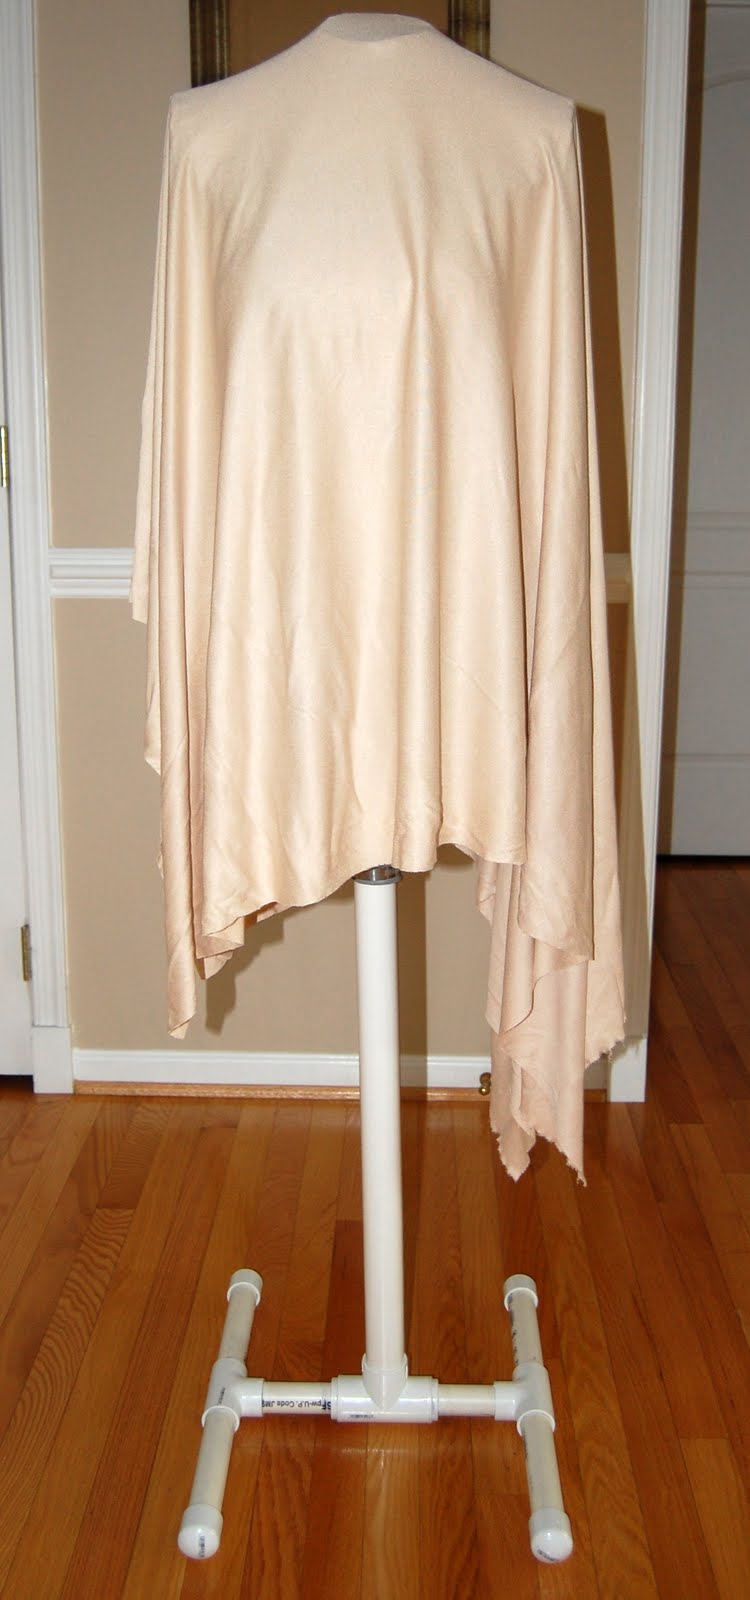
Next work on the shoulder seams, making everything nice and tight just like the side seams. Sew together the arm holes. And finally make the base of the form tighter. That may mean you have to sew the excess fabric together.

To make things pretty and useful, I covered the arm holes with contrasting fabric and made a pin cushion for the neck [very helpful when draping].


Next are the center and princess seam lines. Mark the center of the bust with a pin. Measure the front of the form [from side seam to seam to seam], divide and mark with chalk. Straight stitch along the marked line. Do both front and back. Then divide the front half in half again and mark the princess seam. Repeat for the back. Mark at your natural waist and straight stitch over it. Do the same for the hip line.


And it's DONE!

Comments...since I've had the form, draping and pattern making has become such a breeze [speed and convenience]. There are really so few corrections that need to be made to fit me perfectly. The time and effort spent making all this was well worth it.


Tuesday, May 17, 2011

Coffee Book Cover

This is my most, absolutely favorite shot of the dress. Red dress coffee book cover anyone? :)

Monday, May 16, 2011

Adventures of Fabric Dyeing or Making of the Red Dress Part 2

I’ve done small batches here and there, but never actually 12 yards at once. The plan is to have it all come out uniform, no streaks or dark spots, but of course that's easier said than done.


So here goes the adventure…6 yards of cotton organdy, [Fabric Hunting in NY] and another 6 yards of regular pima cotton [used for lining and bodice structure]. We are going from white to red. I bought the dye here after doing extensive research and sample dyeing. These dyes are easy to use [although you might not think it’s the case after seeing the pictures] and result in the most brilliant, vibrant colors. Chinese red has been selected as a definite winner in the red color war. All the instructions you need on dyeing can be found here.

Some discoveries…Cotton organdy is a very good color fast fabric. It absorbs dye so well, it’s actually kind of crazy. Regular pima cotton, not so much. I put both fabrics in a giant tub when dyeing, hoping by doing so I would achieve the same color variation for both. Well, was I wrong. White cotton organdy came out just as I expected…INCREDIBLE! It ate up the dye in the tub so fast, that it only left crumbs for pima cotton. Pima cotton came out a sad raspberry instead. I had to re-dye pima cotton and still wasn't able to achieve the color I wanted. It was much closer, but since it was just lining I wasn’t going to loose sleep over it. [I didn’t just say that; close enough is unacceptable, but there were time constraints].

Conclusions…All cottons are not created equal. Dye all fabrics in their own fun tubs, with their own varying amounts of dye.

PS: NEVER ever pour soda ash right over the fabric, here comes a dark spot if you do! Wear a mask or look like a homeless cowboy in a bandana, it’s not good to breathe in.


Related Posts Plugin for WordPress, Blogger...