- 2 yards [roughly, depending on the size of the form] of jersey knit fabric [skin color is best]
- Stapler
- Needle and thread
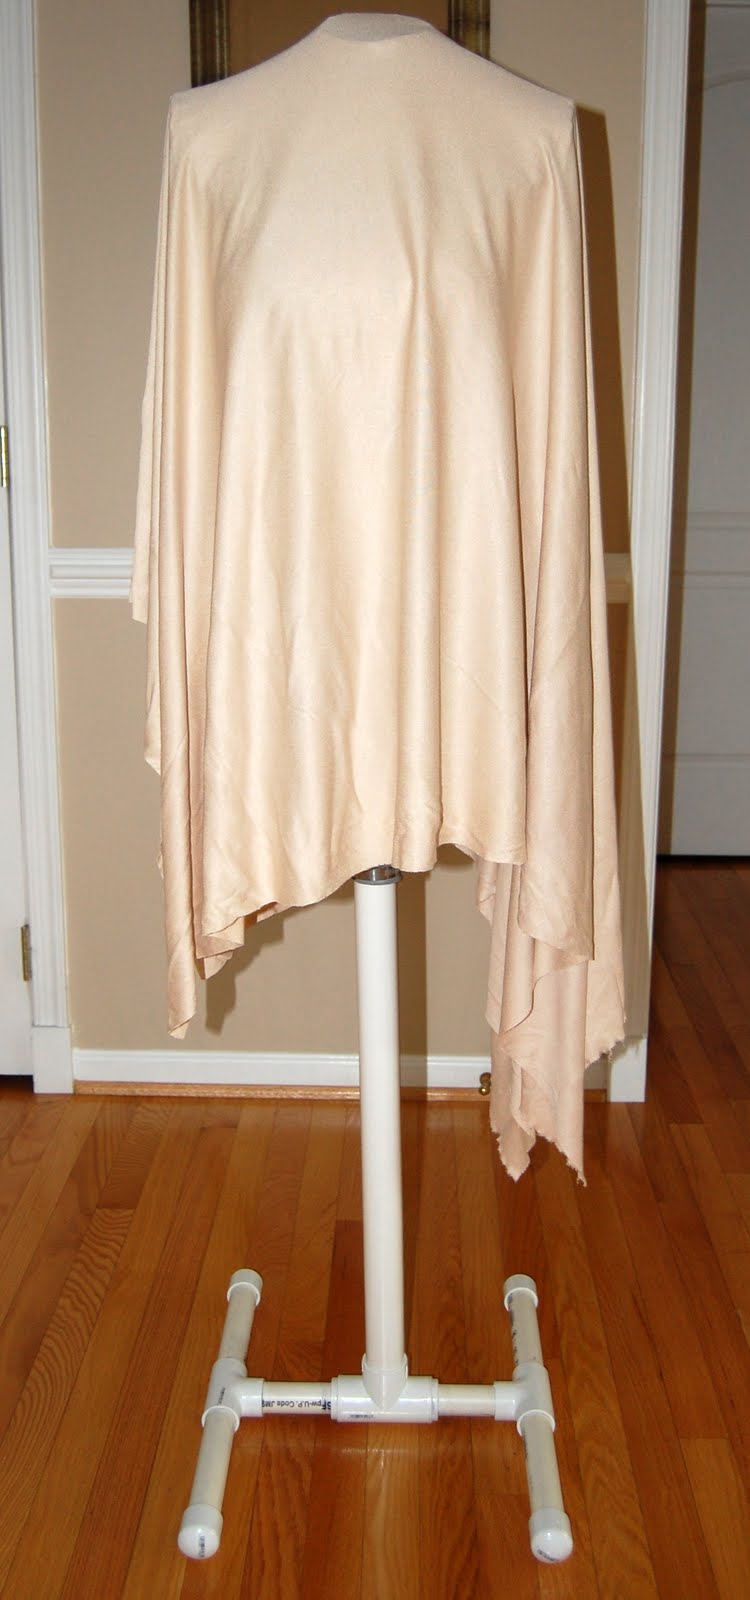
Draw side seam lines on the raw form. Drape the fabric over your form like you are covering it. Pin it just enough so it stays put while you turn the form over. Pull the fabric tightly and staple it to the base of the form. Turn the form back over and start with the front. Staple the sides to the form, right before the side seam line [the staples are just to keep things tight, they will be taken out when it's all done]. Make sure you have everything nice and tight, including neck and bust, on both sides [make sure the fabric is not loose over them, you want this to be a second skin]. Cut the fabric as close as possible to the side seam lines. Repeat for the back. Use thread and needle to sew the two sides together [contrasting color is easier to see]. Take the staples out [be careful not the rip your fabric].


Next work on the shoulder seams, making everything nice and tight just like the side seams. Sew together the arm holes. And finally make the base of the form tighter. That may mean you have to sew the excess fabric together.
To make things pretty and useful, I covered the arm holes with contrasting fabric and made a pin cushion for the neck [very helpful when draping].


Next are the center and princess seam lines. Mark the center of the bust with a pin. Measure the front of the form [from side seam to seam to seam], divide and mark with chalk. Straight stitch along the marked line. Do both front and back. Then divide the front half in half again and mark the princess seam. Repeat for the back. Mark at your natural waist and straight stitch over it. Do the same for the hip line.


And it's DONE!
Comments...since I've had the form, draping and pattern making has become such a breeze [speed and convenience]. There are really so few corrections that need to be made to fit me perfectly. The time and effort spent making all this was well worth it.
Hey I just found your blog via a Threads tutorial on making your own dress form. I really like yours the best out of all the tutorials I have looked over online. I love all the work you put into and am going to be gathering materials and starting this week on my own. Thank so much for putting up this lovely tutorial!
ReplyDeleteThank you so much! Please email if I missed anything or if you have additional questions.
ReplyDeleteI totally agree with Valhalla; yours is the best!!!!
ReplyDeleteI have been reading and searching and reading and searching, and yours seems to work no matter what the size. While it does seem a bit time consuming, it also seems the most accurate. Thus, I am willing to put in the time.
Thanks!!!!
I'm also going to buy my materials and get started on this come Monday.
waw!!! great job!!!! :)
ReplyDeleteCurious: what was the total cost and time of the project?
ReplyDeleteAll the supplies are listed in every post. at this point I do not remember, but you could calculate them if you have the time. I would say about $100, but it's just an estimate. As for the time, it's very time consuming.
DeleteThanks!
Delete